Friday, April 10, 2015

DIY: A Woodland Creature Mobile for Baby Hannah

67 days.  That’s all I have left until the much anticipated arrival of my Hannah Banana.  I am starting to feel the time crunch, but luckily my husband and I have been trying to take advantage of most weekends to finish up big projects around the house, which includes landscaping and a deck in our backyard to cut back on all the dust that trails into our home after the dogs have been out.  As much progress as we have made, it still seems to that we’ve hardly made a dent in the list.  Last weekend after we put Sweet Pea to bed we got to work on painting the nursery and actually got most of it done in an hour and a half (there are a few touch ups that need to be done in order for it to be completely off of my list). During our painting, I pulled something twisting around, so I have been feeling kind of useless for most of this week.  However, I have saved a few projects that don’t require me to move around too much just for weeks like this.


When trying to think up a nursery theme, I thought woodland creatures would be cute since it could work for a boy or girl.  I am also weirdly obsessed with all things that have to do with moose…I don’t know why.  I think they are pretty cool animals.  Must be that Alaskan Chick in me... So, with a theme in mind, I jumped onto Etsy for some inspiration.  I started looking at mobiles.  However, every store that had one wanted at least $90+ for a basic mobile made from the mechanical, plastic crosses you can buy from Michaels.  I was more or less resolved from there on out that I could totally manage making my own mobile for Hannah’s room to save a little money for other projects.  Here is what I came up with: 
 

Woodland Creature Mobile Tutorial
Materials:
12” Bamboo embroidery inner hoop
9” Bamboo embroidery inner hoop
Epoxy
Felt or paper themed mobile accessories
Beads
Thread
Fishing swivel
Key chain ring

Tools:
Ruler or tape measure
Pencil
Hacksaw
Safety glasses
Drill and 1/16” bit
Fine grit sandpaper
Toothpicks
Paper plate
Clamps
Scissors
Needle

Step 1:  Make or procure your mobile themed accessories to hang.  Try to envision the design since you will only have 9 different points to hang from.  The longest part of this project was waiting on the felt animals to ship.

I bought my woodland animals from MiracleInspiration on Etsy.  The seller lives in the Ukraine, but I got my purchase within 10 days (even with it having to go through customs).  Her workmanship is absolutely wonderful.  I would definitely recommend using this shop for fun felting projects:


The other felt accessories came from Michaels.  I just loved the colors and thought I would fill in with these as I saw fit:


Step 2: Use a ruler to measure the diameter of the inner embroidery hoop.  When the measurement is just under 9” or 12” (since it’s the inner hoop, it will be less than the total inches advertised), use a pencil to mark either side of the hoop for your cuts.  Use a hack saw to cut through the hoops at the marks.  Don’t forget to wear your safety glasses so that you don’t get wood shavings in your eye.  That’s the safety coordinator coming out in me…sorry.  It’s my job to worry about these sorts of things.

Step 3:  Use a drill and 1/16” bit to make holes at the ends of the now semi-hoops.  This part made me the most nervous since the wood could have easily cracked, but it worked out just fine.  Also, your safety glasses should still be on…

Step 4:  Use a fine grit sand paper to round out the edges of the semi-hoops and get rid of any jagged splinters from the holes. 

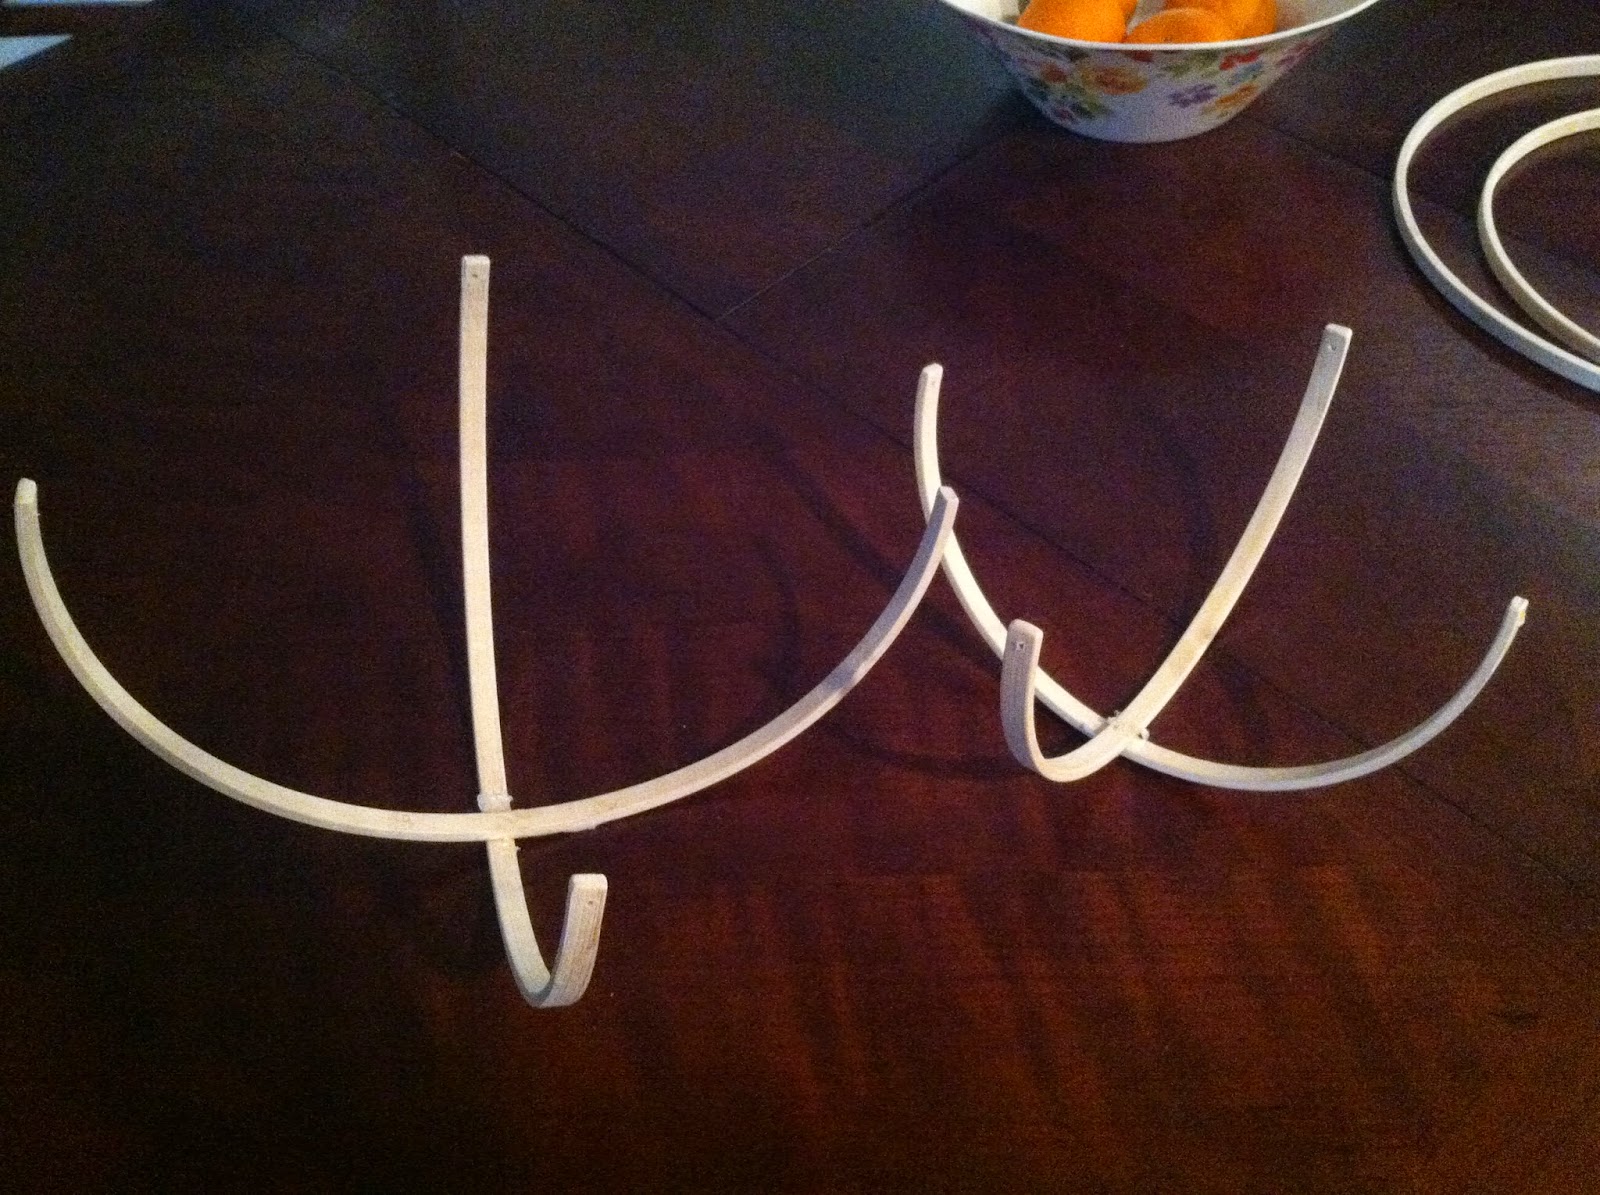
Step 5:  Gather your epoxy, a paper plate, toothpicks and clamps.  Mix some epoxy on the paper plate with a toothpick.  Do this in a well ventilated area since epoxy stinks...  Gather up a dollop of epoxy onto your toothpick and place on the crest of one of the semi-hoops.  Set the other similarly sized semi-hoop directly on top of the epoxy at a perpendicular and use the clamp to secure.  Set aside and allow to dry completely (shouldn’t take more than 10 minutes since epoxy dries so quickly).  Repeat with the other set of semi-hoops.

My messy epoxy...I used too much.  A little goes a long way.
 

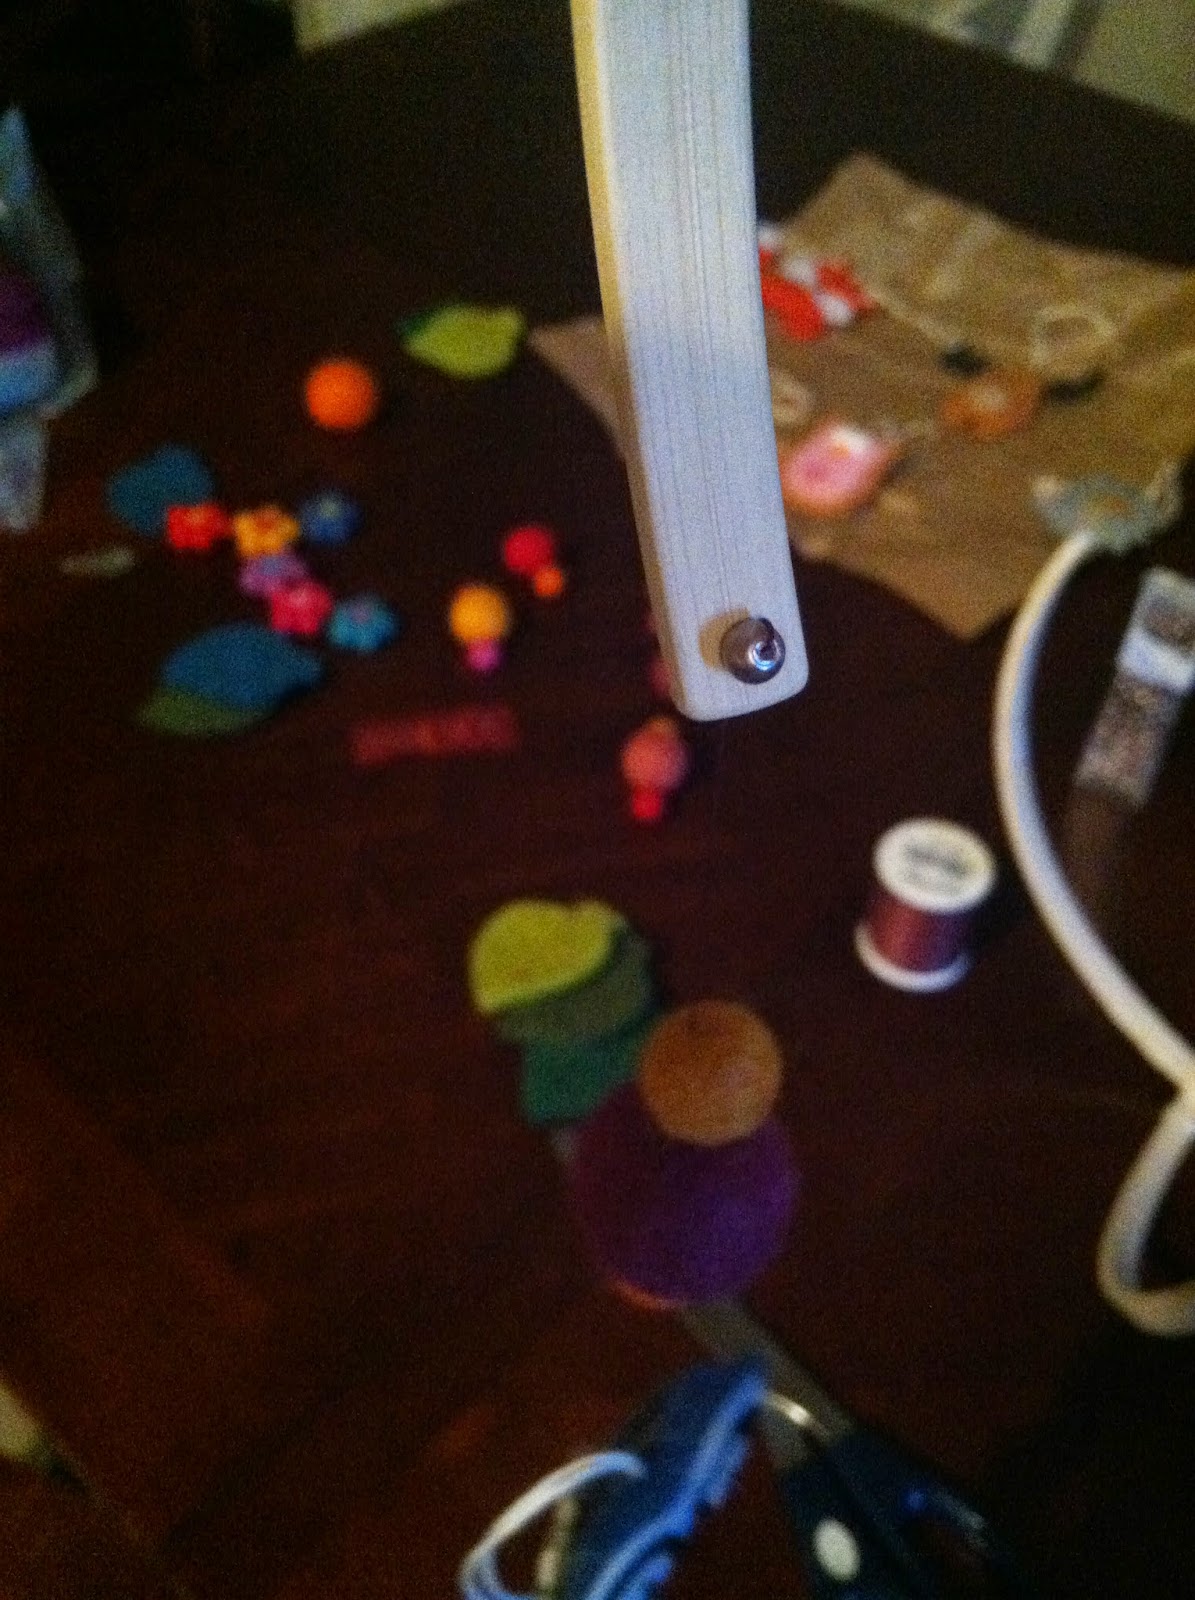
Step 6:  Once the hoops are dry, you are ready to start stringing on your mobile accessories.  I decided to use thread to string my accessories instead of fishing line because it would pass easily through my felted pieces with a needle and hang straight with little weight (since none of my felt pieces weighed much).  In order to secure the thread to the mobile ends, I knotted a bead to one end of the string and strung it through from the inside of the mobile structure.  It should look like this:


Step 7:  Once every end of the mobile has your felt pieces strung on (including the middle of the smaller mobile structure), then you are ready to string them together.  I just played around with the length between the structures until I got the mobile accessories from the top structure to hang between the mobile accessories from the bottom structure.


Step 8:  Attach a fishing line swivel to a key chain ring.  Then tie one end of some thread to the swivel and the other end to the top of the mobile.  You are now complete and have a fantastic mobile to hang in your sweet baby’s room!


And just for fun...an action shot! 


- Casey


Wednesday, April 8, 2015

"Hooray" said Pooh, "Declan is turning two!"

I have been working on Declan’s birthday party for quite some time – sewing crayon roll ups (blogged earlier!), table runners, pennant banners, etc. It is a nice creative outlet for me, so it doesn't seem like work and I enjoy throwing parties! However, that being said….next year I am doing Declan’s birthday at Jump Time and letting the kids get their wiggles out in a fun atmosphere!
Crayon Roll-ups (See earlier post!)
Let me just say this – I love Etsy for party invites! I knew I was going to have a Winnie-the-Pooh theme, so I found a great invite (printable!) had the seller customize the colors and wording for me. She then gave me a discount code for future orders so I purchased matching tent cards, thank you notes, birthday banner, and favor tags! It’s so fun when they all match. I love being able to print as many as I want!
Front of Invite

Back of Invite

Matching thank you note!


Etsy is also a great place to get customized shirts! It was pretty easy to find a lady that embroiders pooh on t-shirts - so it was easy to tweak the design to add the number 2 and his name. I think it turned out pretty cute!

My little 2 year old!
I used Pinterest to come up with some fun food ideas – isn’t the internet a wonderful place? We served Tigger Tails (Cheetos puffs), Kanga’s Kebabs (fruit skewers), Hunnycomb Krispies (Rice Krispie treats made with honeycomb cereal), and Pooh’s Hunny Ham Pockets (biscuits stuffed with ham, cheese, and honey), and veggies from Rabbit’s garden. I wanted food that was easy to prepare ahead of time and also a good assortment of healthy food that toddlers could eat without making too much of a mess!

Pooh's Hunny  Ham Biscuits
I found it was easier to find fabric I liked from the store rather then scour Marshall's or TJ Maxx to find the exact yellow I was looking for. It was probably a lot cheaper too! I ended up buying this fabric and hemming each of the four sides to make great little runners.
Veggies from Rabbit's garden, Tigger Tails, and Hunnycomb Krispies


Custom cookies (so cute!) and Kanga's Fruit Kebabs

The food table


My mother-in-law is amazingly talented at baking! She made a really cute elephant cake for Declan’s first birthday and followed up this year with an equally wonderful Winnie-the-Pooh cake! I’m pretty sure Declan could care less about anyyything from the party - except for the cake! I think he ate 3 cupcakes before the party even started!


My husband works at HP, so I am constantly asking him to print pictures for my parties! He can print anything any size...for free! I sure take advantage of that! I usually just google images and scroll through until I find what I'm looking for and put them in fun frames. It's a pretty inexpensive way to jazz up a tablescape.

Amazing pooh cake!

A couple of weeks before the party, I had my mother-in-law and sister-in-law over to help me with a few crafts for the party. We made hunny pots out of terra cotta flower pots to use as balloon anchors - it was so easy! We basically painted the pots blue with yellow around the rim to look like honey. Finally - a little "Hunny" label with a paint pen finished the look!

Hunny Pot Balloon Anchor

We also cut all of the strips for Declan's high chair decor! I had a bunch of leftover scraps of fabric from the favors, so it was a great use of the remnants. I was a little worried he would just tear it off, but it stayed on well with tape and by attaching the ends to the seat itself.


If only he had left the ears on!!

Here are some pictures from the party! It was a lot of work - but it was so much fun to enjoy the fruits of the labor!
The Mantel

Chatting with sweet Penelope

Beautiful chaos!

Presents!

- OXOX

Amanda


Friday, April 3, 2015

Freezer Meals!

About a year and half ago our tight knit group decided to get together every few months to do freezer meals.  Last year we ended up meeting once every three months (or so) to make three different recipes for our families.  This year, I've been pressuring the girls to get together more often because of my need to stock the freezer before Hannah's arrival sometime in June (less than 11 weeks to go, now!). 

This last month I was the host and chose four different recipes: Crock Pot Chicken Tacos from Cooking Classy (they are supposed to be fajitas, but more on that later), Doc's Turkey Chili from The Biggest Loser cookbook, Freezer Biscuits from Money Saving Mom and Breakfast Sandwiches.  Thanks to the hard work by Jami, Amanda and Tiffany, we were able to make eight dinners each of the chicken tacos and turkey chili, 72 biscuits and 80 (!) breakfast sandwiches in a little over four hours. 

 You might ask, what does it mean to be a host?  Each time someone hosts, they are responsible for creating the menu, shopping for all the ingredients and then providing the space to assemble the meals.  Last year we started a community box that is given to the host with any leftover spices, extra food storage materials (like aluminum foil, ziplocks or saran wrap), and kitchen tools from our previous sessions.  This helps us cut down on cost and sometimes inspires our next menu. 

Here are some of the pictures from the day:

 Amanda, on breakfast sandwich duty.
 Crock Pot Chicken Tacos
 Doc's Turkey Chili
 Towers of breakfast sandwich goodness...
 Our Southern belle, Jami, on biscuit duty!
A selfie, just because.
Flour on the belly...I kind of knew that my bump might be getting in the way!

It's been a few weeks now and the meals are still stretching for our family.  The Crock Pot Chicken Fajitas ended up being chicken tacos since I have a 40 minute commute to work and am unable to come home to stop the slow cooker at the 6 hour mark to slice the meat.  Oh well.  They were still just as good, and we had plenty left over for a couple of lunches and another dinner of chicken quesadillas.  Now I know for next time that this recipe will probably work best if we cut it in half and bag into two ziplocks.  

For the chili, I was able to take it out the night before and throw it in the fridge.  It was still a little frozen, but I just threw it in the pot on med-high heat and let it defrost.  When it got to a boil, I let it stew for 20 minutes before serving.  This is probably one of my favorite low-cal, go-to meals.

The biscuits are so good!  I used half whole wheat flour and white all-purpose flour for mine and they were still very fluffy and soft.  The recipe says to let them thaw for 30 minutes before baking, but since I'm normally short on time I tried baking them from frozen and they turned out just fine.  It took closer to 25 minutes, but it was still a shortcut from the 45+ minutes you would normally need.  Jami baked hers where they were touching and they rose well that way, too.

Lastly, the breakfast sandwiches.  I am in heaven.  I have saved so much money the past few weeks since I have been able to bypass my usual Starbucks Reduced Fat Turkey Bacon sandwich (and chai latte).  We couldn't have made 80 of these guys without our handy breakfast sandwich maker from Hamilton-Beach:

I had bought a single one as a gag gift for my husband for Father's Day last year, but it turned our to the handiest gadget and we use it all the time!  My brother-in-law got me a double for Christmas so that we could make three sandwiches at a time and not have to wait to eat as a family (each batch takes 5 minutes to cook).  We kept our sandwiches simple with just eggs, cheese and real bacon bits (they are not as greasy as using whole strips of cooked bacon and are easy to scoop).  Just wrap in saran wrap and freeze.  It was really easy.  I usually throw a sandwich in the fridge the night before, then just take off the saran wrap and heat in the microwave on high for 1-1:30.   

Well, I have work and baby prep to get back to.  Let us know what your favorite freezer meals are and help inspire our next session!

- Casey

Wednesday, March 4, 2015

Crayon Roll-Ups

Hey friends!

I am getting ready for Declan’s 2nd  birthday party this month and was looking for a fun sewing craft to use as a favor for all of his little friends.  He is loving “The many adventures of Winnie the Pooh” on Netflix right now, so we are going with a Pooh theme.  I finally decided on making some crayon roll-ups for the diaper bag.  Declan and his friends are starting to become more interested in art – this will be perfect for a busy kiddo!

I went to Joann’s and bought $25 worth of supplies – enough to make 15 crayon roll-ups, and two pennant flag banners (blog post to come later!).  That seemed pretty affordable to me!   Way cheaper than having them made on Etsy.

So here we go!

Supplies:
2 pieces of the same fabric for the outside and inside – 5” x 12.5”
1 piece of coordinating favbric for the pocket – 6” x 12.5”
1 piece of flannel for lining – 5” x 12.5”
1 coordinating hair elastic
1 button
Disappearing ink fabric marker
My coordinating fabrics for a Pooh birthday!


  1.  Cut out your fabric.  I made 15 of these things, so I found it convenient to cut them all out at once and move on.


  2. Take your pocket fabric and fold it in half length-wise.  Then iron it crisp.
  3. Make a sandwich out of your flannel-inside-pocket and pin it in place
  4. Find the middle and mark  it with your disapperaing fabric marker
  5. Mark lines every 1” on either side of the fabric until all lines have been drawn. The last gap should be a little wider than 1” to account for seam allowance
  6. Time to sew!  Start with the pockets.  Start at the middle and work your way across each side until you have sewn down each marked line.  Don’t forget to strengthen the stitch at the top of the pocket because that is where your little one will be yanking to get their crayons out! I went back and forth a few times to make sure it was secure.  

  7. Next I stitched down the elastic on the right side.  I made sure to put the melted segment of the elastic here so I won’t worry if it breaks down the road.  I used red thread on one of the roll ups so it was easier to see what was going on.  I did prefer white thread for the other roll ups though - it looks more coordinated.
  8. To assemble the roll up, place the outside piece of fabric face down on our sandwiched piece (right sides together) and pin at each corner.  Mark an opening so you have plenty of room to pull it right side out.  It also helps to clip each of the corners so it’s easier to get a crisp corner once it’s pulled right side out.
  9. Sew around the fabric with a ¼” inseam – leaving a 3” gap to pull it through.
  10. Turn right side out and poke out the corners.  (A chopstick works great for this!)
  11.  If you can still see the fabric pen markings, get the fabric wet.  If you iron the fabric markings – it will cause them to be permanent. Iron flat.  Be sure to tuck in the 3” section that you left for pulling through and iron well.
  12. Stitch around the perimeter of the fabric, as close as you can to the edge.
  13. Fill the pouches with crayons and make a mark where your button needs to go. 
  14. Sew on your button. I used a bee button to coordinate with the pooh fabric. 

  15. Voila! Perfect little favor for Declan's upcoming party.
I hope Declan's friends will like them!

Until next time!

- Amanda